A Pilgrim's Path: Uncovering Every Meditation Spot in Black Myth: Wukong's Yellow Wind Ridge
Discover the six meditation spots in Yellow Wind Ridge Chapter 2 for an immense enlightenment boost, essential for defeating demonic kings and achieving inner peace. Each location, from Sandgate Village's Sentinel's Perch to Fright Cliff's Lone Tree, offers unique serenity and strategic advantages.
In the vast, sun-scorched expanse of Yellow Wind Ridge, the journey of the Destined One is not only one of relentless combat against demonic kings but also a quest for inner tranquility. Scattered across Chapter 2's desert landscapes are six sanctuaries of peace known as meditation spots. These locations are not merely scenic pauses; for the ascetic warrior, they are wells of profound experience, offering a massive, one-time enlightenment boost that can be the difference between defeat and triumph. Finding them all is like assembling a broken compass—each piece found restores a clearer sense of direction in the spiritual desert. The path to collect these boons weaves through forgotten villages, treacherous cliffs, and even a hidden kingdom, demanding a pilgrim's patience and an explorer's keen eye.
Meditation #1: The Sentinel's Perch in Sandgate Village
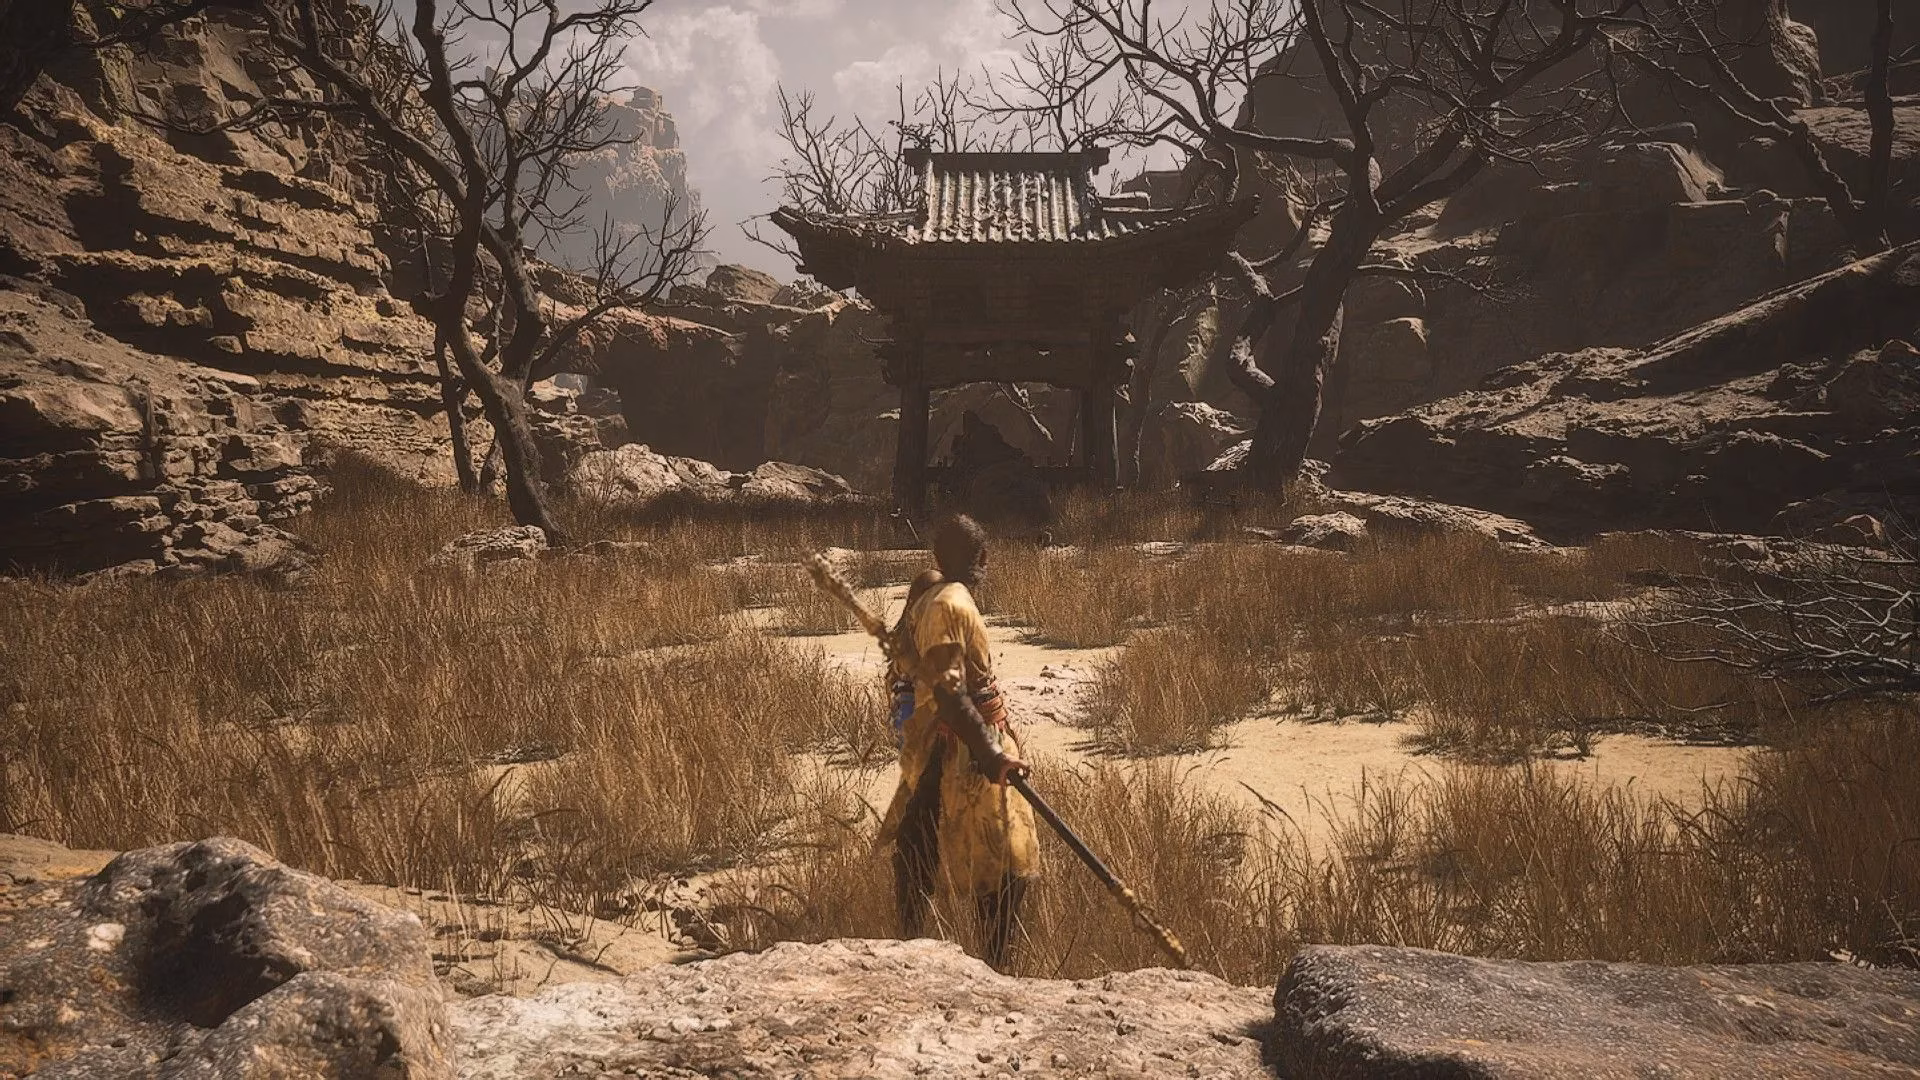
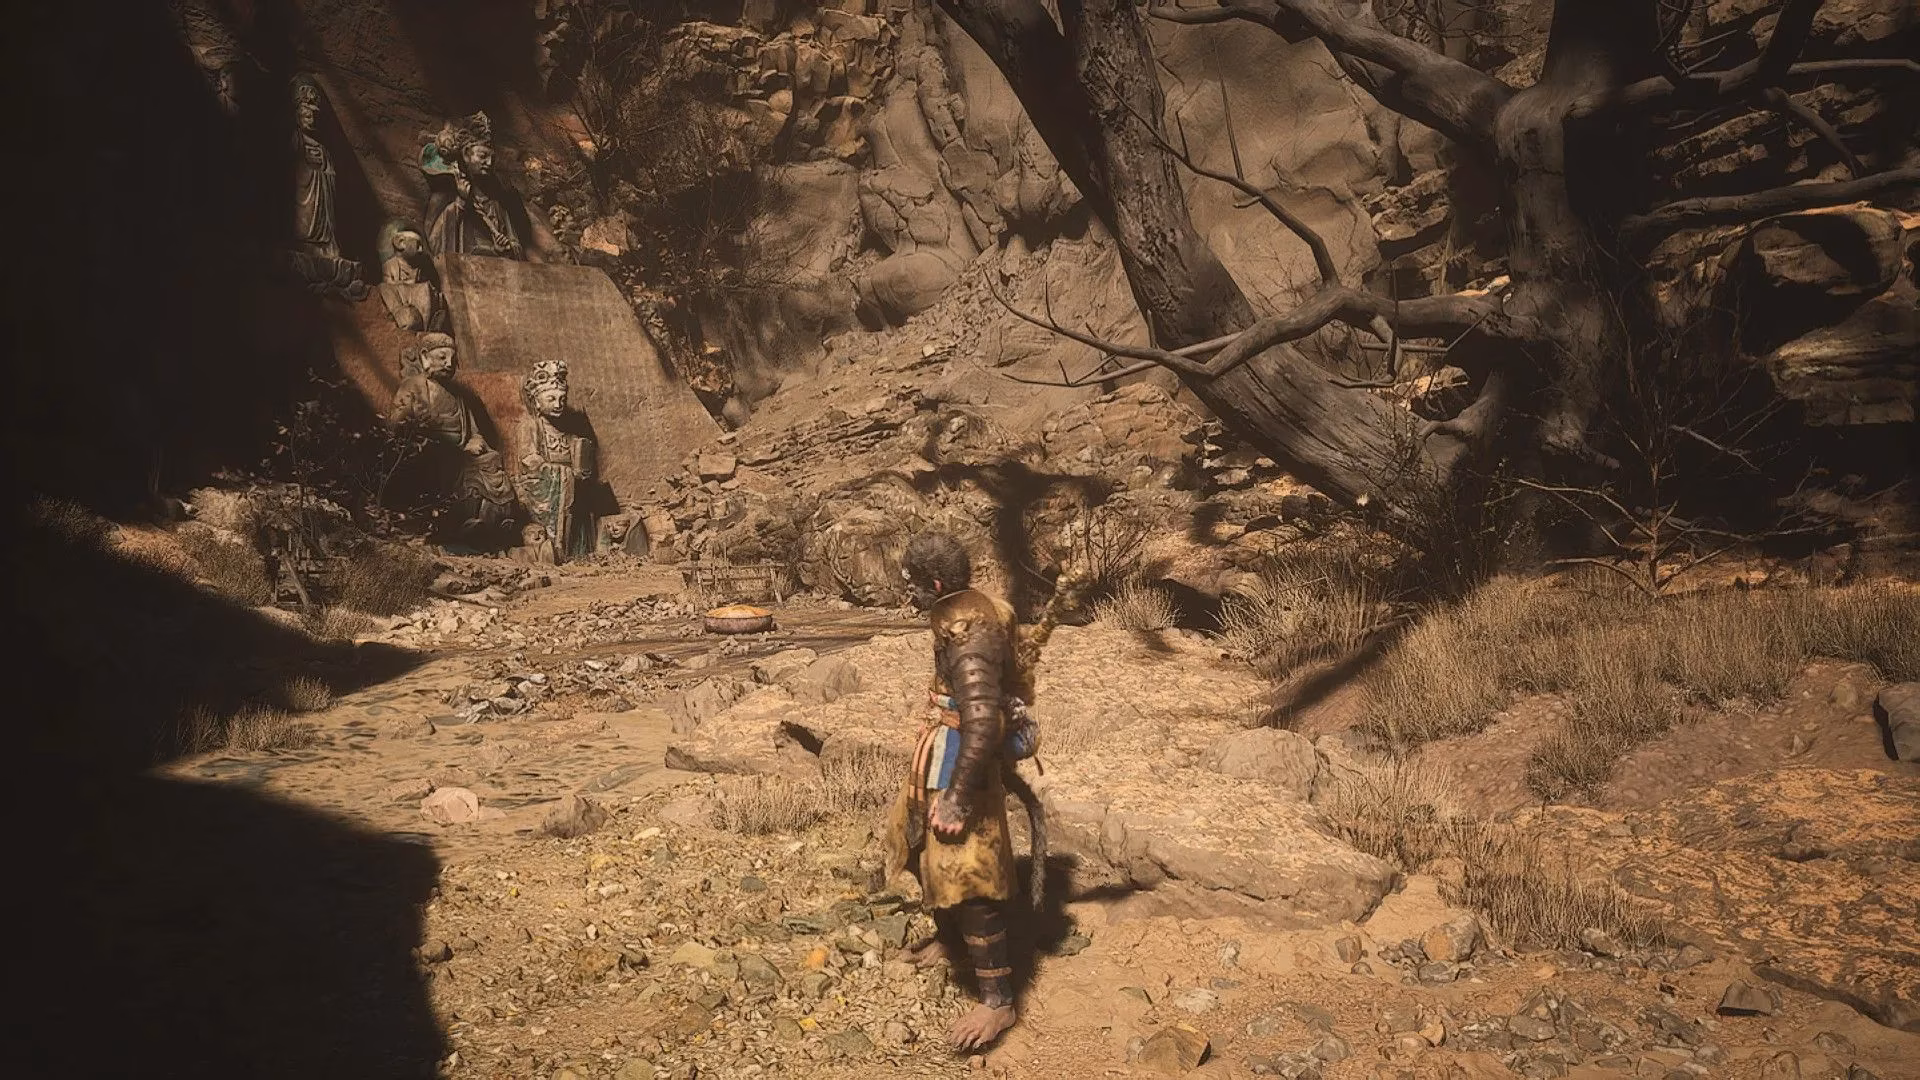
Your pilgrimage begins at the heart of desolation, the Village Entrance shrine in Sandgate Village. From this point of respite, do not follow the obvious path. Instead, walk towards the rickety wooden bridge that spans a hidden crevasse. Here, you must take a literal leap of faith—drop down into the small ravine below. Turn right and follow this subterranean passage into an open cave, a place as silent as a held breath. Ignore the stairs leading up and the gully descending further down. Stay on the high ledge where the enigmatic NPC Xu Dog keeps his lonely vigil.
Follow this ledge left, skirting the outer wall of the cavern. Your reward for this detour is the sight of a solitary stone gazebo, sheltering a massive, weathered head statue. The meditation spot awaits you like a secret kept by the stone itself, directly in front of the gazebo and across from the ledge that overlooks the arena of the formidable Lang-Li-Guhh-Baw. It is a perfect vantage point, offering contemplation before the storm.
Meditation #2: The Lone Tree's Shadow at Fright Cliff
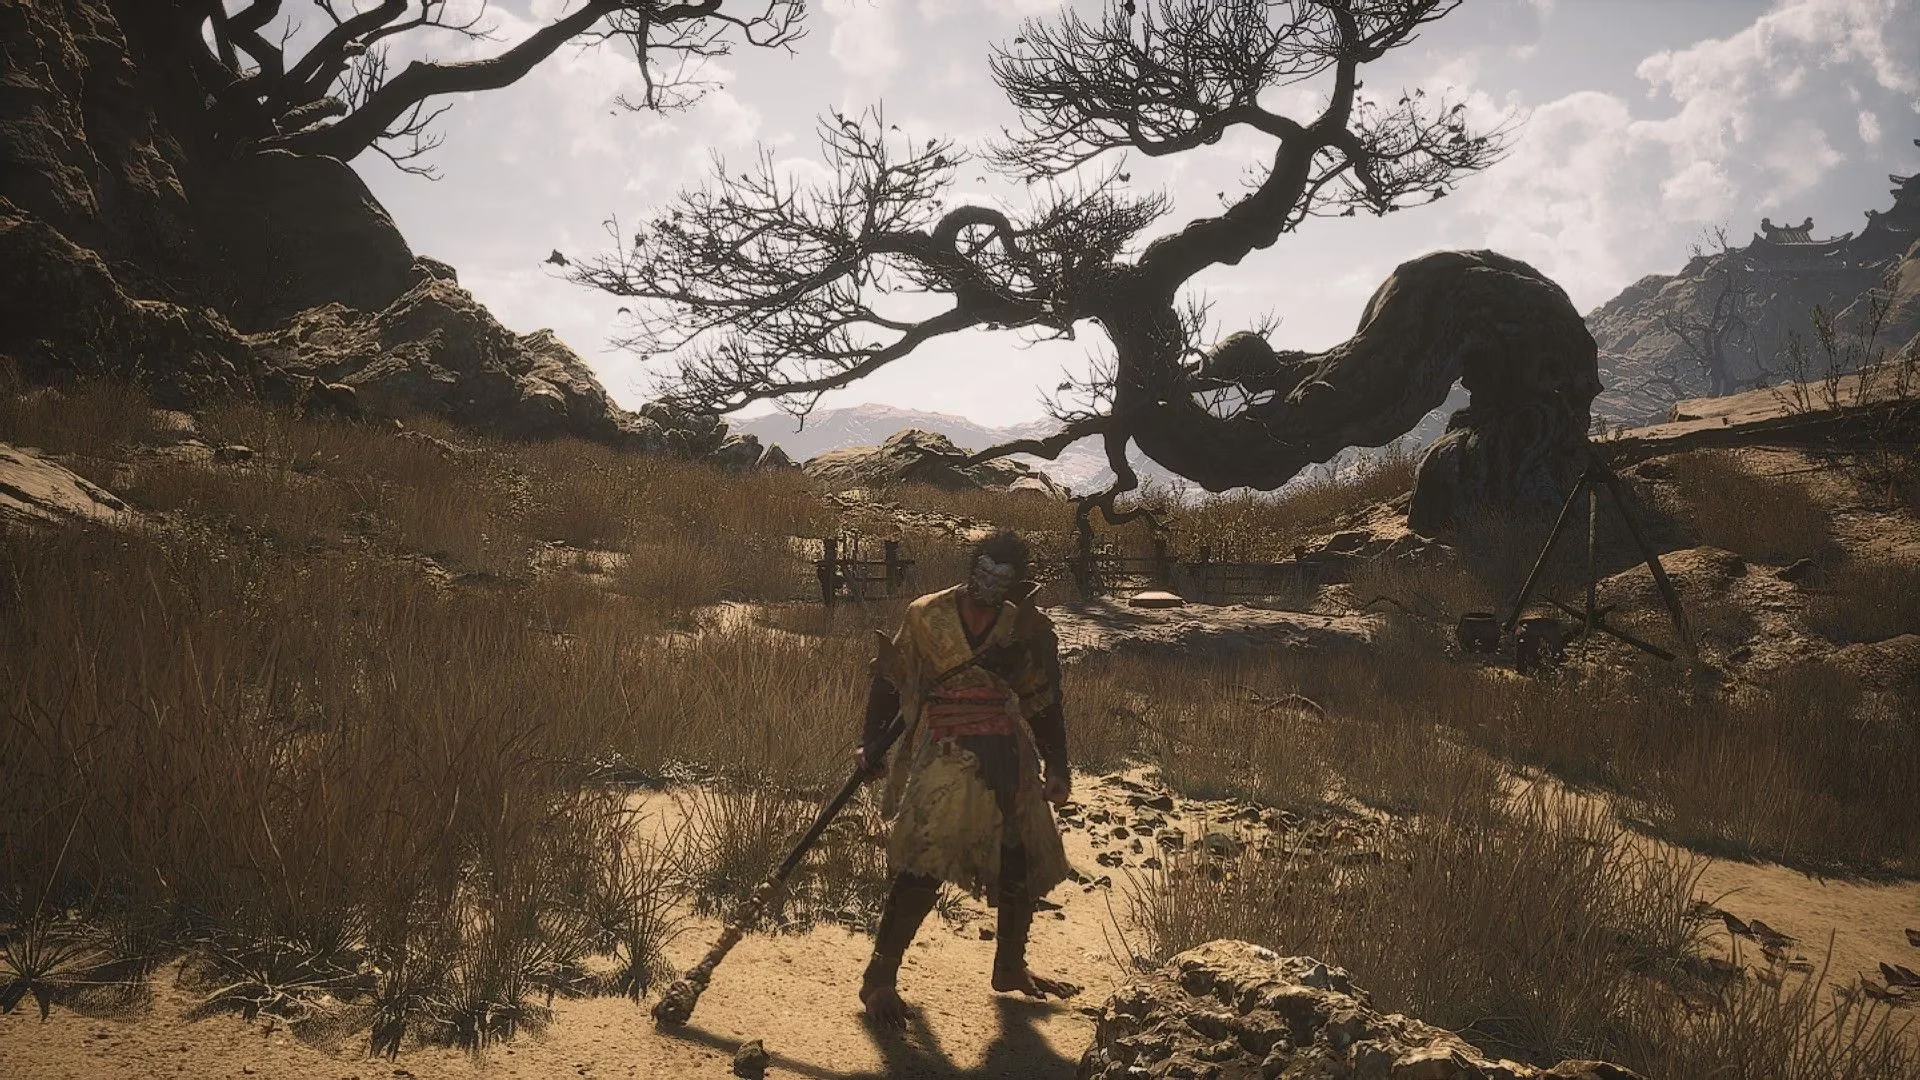
The winds howl with a sharper bite at Fright Cliff's Rockcrest Flat shrine. Facing the shrine, march resolutely forward across the canyon. You'll pass a shieldless Spearbone enemy guarding a destructible wooden fence—a minor obstacle on your path. Press on into the next clearing, a place marked by the presence of the jovial yet forlorn Drunken Boar NPC. This oasis of chatter amidst the desolation holds your next goal.
Scan the opposite edge of the clearing. There, standing in solemn isolation like the last tooth in a ghost's grin, is a lone tree. Make your way to it. The meditation spot is not marked by grand architecture here but by simple, earthy truth. You will find it directly beneath the sprawling branches of this solitary sentinel, a patch of calm in its enduring shadow.
Meditation #3: The Statues' Silent Watch on Rock Crash Platform
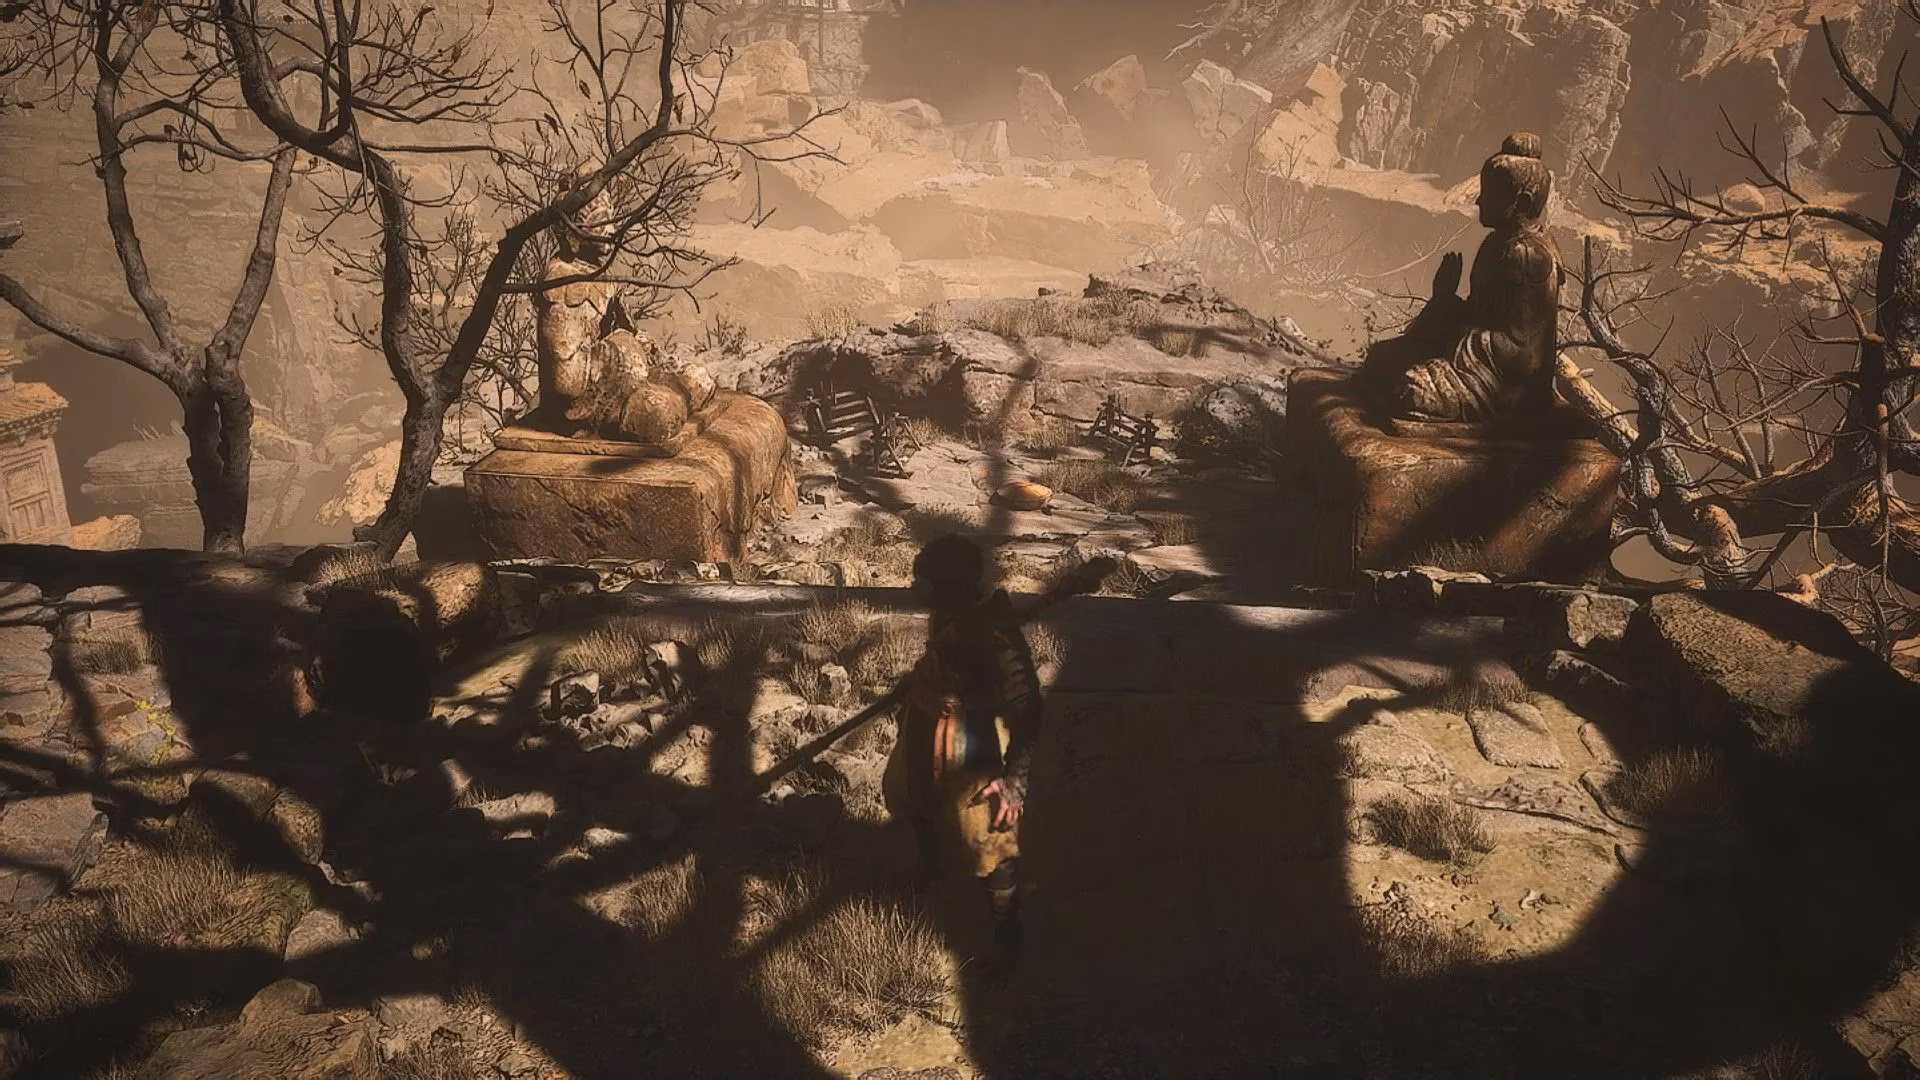
From the Rock Crash Platform shrine, the way forward is a descent into stillness. Go straight down the stairs that lead away from the shrine, winding through the husks of abandoned houses. Your destination is not another open vista but a man-made sanctuary. You will come upon a sturdy stone structure, its entrance flanked by two towering, weathered statues standing guard. Their stony gaze has witnessed epochs pass.
Step inside this quiet hall. The air here is still and heavy with time. Between these silent giants, on the bare stone floor, lies the meditation spot. It is a moment of peace offered under the solemn watch of history itself, a brief respite before returning to the chaos above.
Meditation #4: The Courtyard Revelation at Crouching Tiger Temple
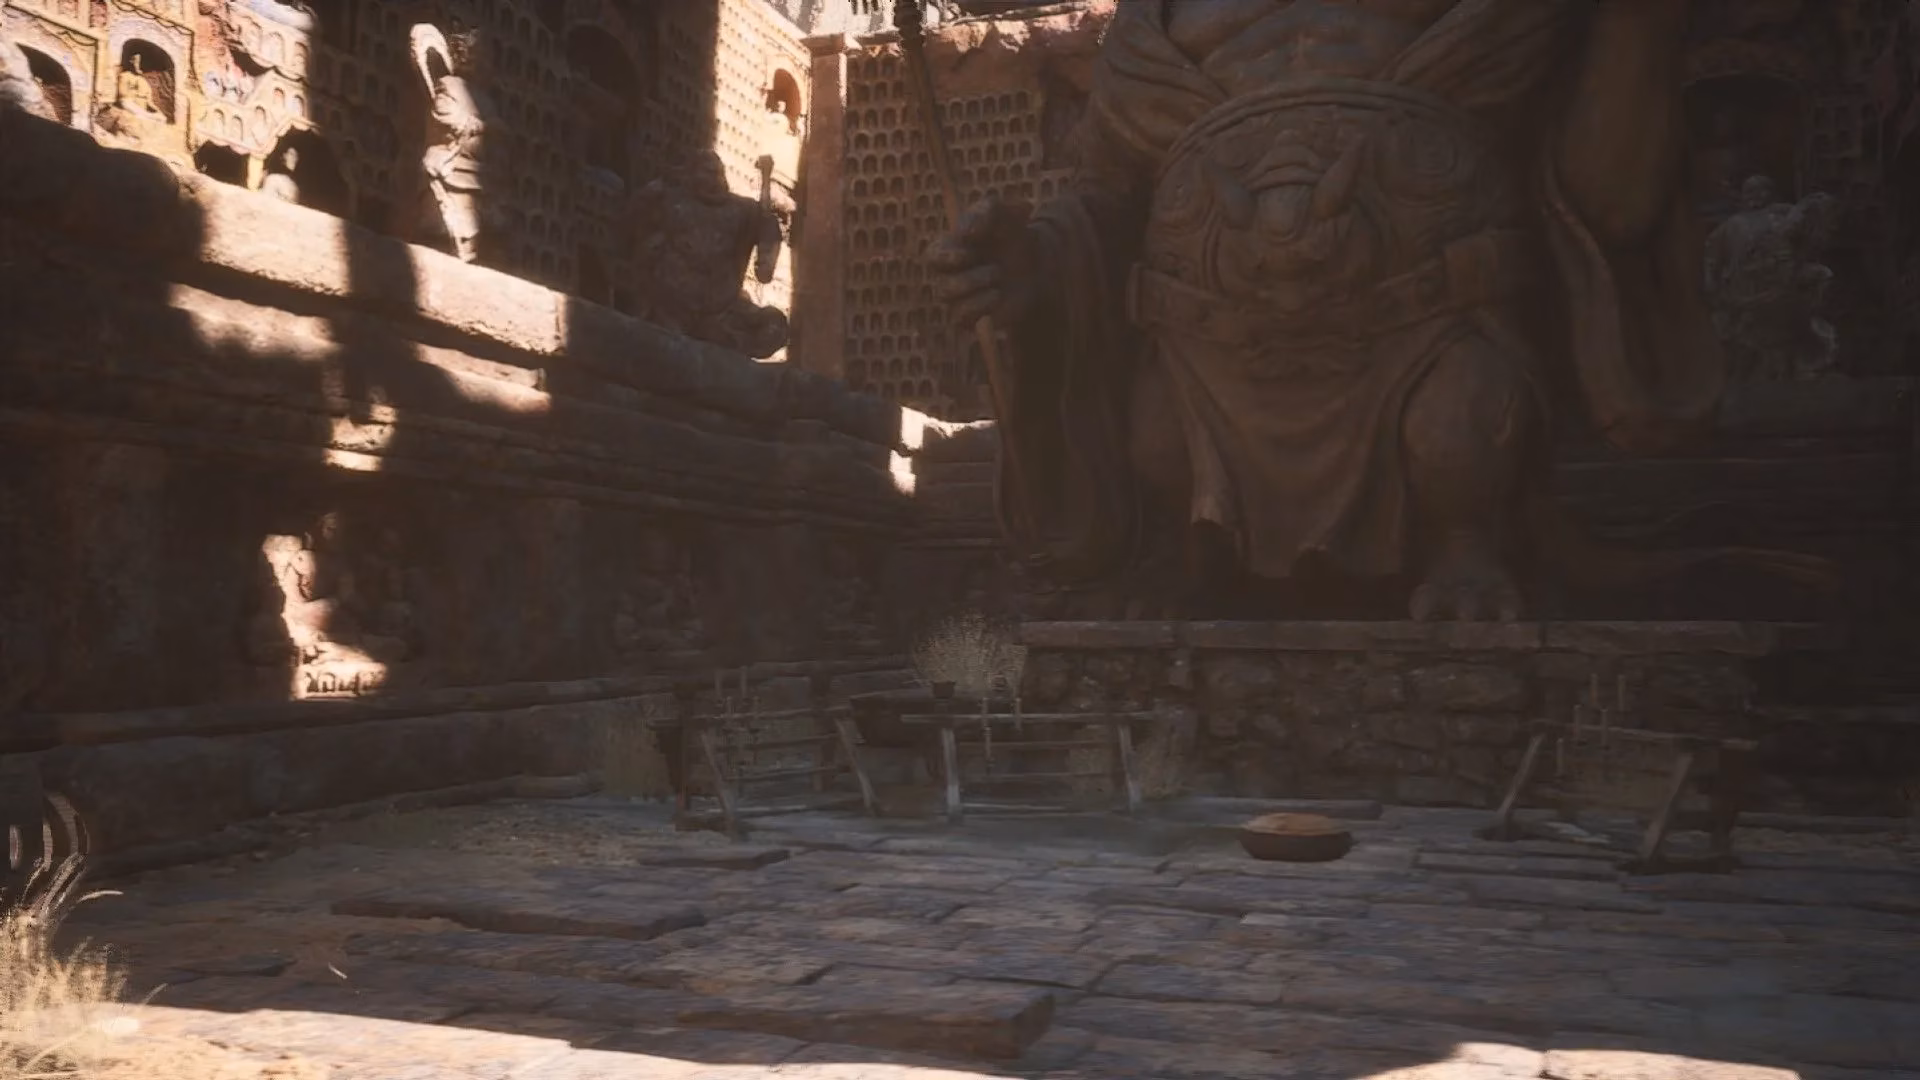
The Crouching Tiger Temple presents a different kind of challenge—one of observation amidst grandeur. From the Temple Entrance shrine, ascend the grand staircase, feeling the weight of the temple's purpose. However, do not be drawn all the way to the top. Just before you reach the summit, pause. Look to your left. A small, easily missed opening leads to a secluded courtyard.
This hidden space is dominated by a single, awe-inspiring giant statue. The meditation spot is placed with deliberate humility on the ground right at the statue's feet. It is a powerful reminder that enlightenment often lies not in reaching the peak, but in recognizing the sacred in the overlooked spaces along the climb.
Meditation #5: The Gatekeeper's Rest Beyond the Cellar
Emerging from the depths of the Cellar shrine, you are greeted by a sloping hill of endless sand. Head down this slope until you reach a fork in the path. Here, turn right. Your journey now leads you upwards through a narrow valley. You will see two choices: a steeper ascent to the left, and a more gradual path leading to a large open gate on the right. Choose the gate.
Pass through this ancient archway, leaving the valley behind. Explore the area beyond, making your way to its furthest, most secluded corner. There, standing sentinel, are several statues. The meditation spot is nestled quietly among these stone guardians, a final point of calm before the desert claims the landscape once more. Finding it feels like discovering the last page of a manuscript buried in the sand.
Meditation #6: The Secret of the Kingdom of Sahali
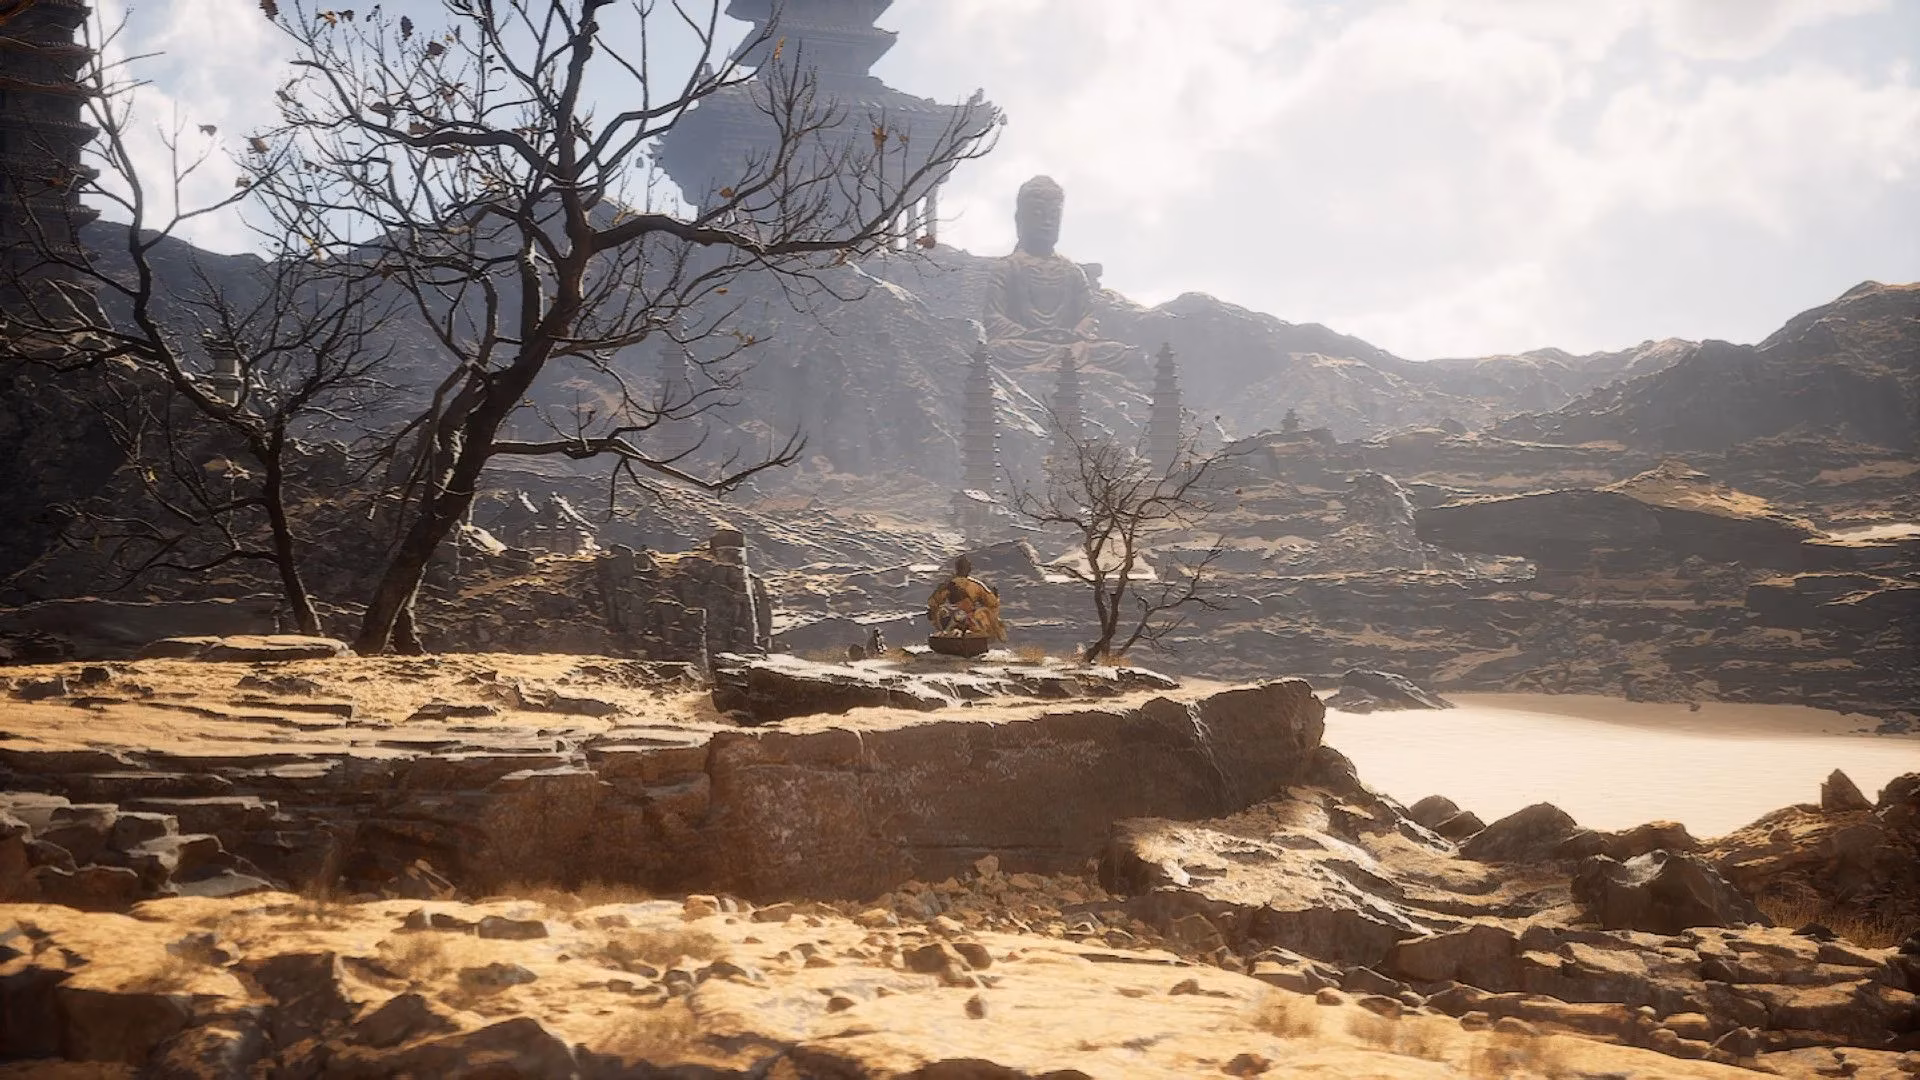
The sixth and final meditation spot is the chapter's best-kept secret, locked away in the hidden Kingdom of Sahali. This entire area is only accessible by completing the questline initiated by the Drunken Boar NPC at Rockcrest Flat. His tales are not mere ramblings but a map to a forgotten realm.
Once you have earned passage and stand at the Sandgate Bound shrine within the kingdom, your final quest begins. From the shrine, turn left. Gaze out across the alien beauty of Sahali until you spot a grim gathering in the distance: a cluster of dead, skeletal trees. Make your way toward them, keeping the endless desert to your right.
As you approach, one tree stands larger than the rest. Climb onto the rocky ledge next to this great, barren tree. Here, on the precipice overlooking the timeless desert, you will find the ultimate meditation spot. It is a place of profound perspective, where the Destined One can contemplate the vast journey behind and the formidable path ahead, having gathered every fragment of wisdom the Yellow Wind Ridge had to offer.
| Meditation Spot | Nearest Shrine | Key Landmark |
|---|---|---|
| #1: Sentinel's Perch | Sandgate Village (Village Entrance) | Stone Gazebo with Head Statue |
| #2: Lone Tree's Shadow | Fright Cliff (Rockcrest Flat) | The Lone Tree in the Clearing |
| #3: Statues' Silent Watch | Fright Cliff (Rock Crash Platform) | Stone Structure with Two Statues |
| #4: Courtyard Revelation | Crouching Tiger Temple (Temple Entrance) | Secluded Courtyard & Giant Statue |
| #5: Gatekeeper's Rest | Crouching Tiger Temple (Cellar) | Large Open Gate & Guardian Statues |
| #6: Sahali's Secret | Kingdom of Sahali (Sandgate Bound) | Cluster of Dead Trees |
Embarking on this pilgrimage to all six spots is more than a checklist for power; it is a journey that mirrors the game's own themes of seeking wisdom amidst turmoil. Each location, from the hidden cave to the secret kingdom, offers a unique vista and a moment of peace that makes the epic saga of Black Myth: Wukong all the more immersive and rewarding in 2025. 🧘✨